If your home is due for a new coat of paint or you’re simply wanting to change things up, exterior painting is a great way to go. It can really transform the look of your home and make it stand out from all the rest. Whether you’re tackling the project yourself or hiring a painting contractor to get the job done, it’s important to understand the step by step process. Here’s a quick overview of what you can expect during your exterior painting, from start to finish.
Table of Contents
Exterior Painting Process: Step 1
Power wash your home
To begin the exterior painting process, you’ll need to power wash your home’s exterior. This will allow for an even and smooth finish with no lifting or cracks. Power washing the exterior of a home is a bit tricky. It poses a higher risk for damage (especially with vinyl siding) than other areas. It’s a good idea to hire a pro to power wash the exterior, whether you’re using a painter or not.
Exterior Painting Process: Step 2
Remove loose paint
The next step in the exterior painting process is removing any loose or cracked paint. The process is simple – all you need is a handheld scraper to get right to work. It’s a bit of a tedious process, but taking the time to remove as much loose paint as you can will make the sanding step much easier.
Exterior Painting Process: Step 3
Protect anything you don't want covered in paint
One of the most important steps in the exterior painting process is protecting what you don’t want to paint. There’s nothing worse than having to clean up a huge mess of paint, so it’s a good idea to have all your bases covered. If you aren’t painting your windows, you’ll want to cover those as well. This not only reduces the clean up process but makes for beautifully crisp edges. Not doing this is a common interior painting mistake we see all the time.
Exterior Painting Process: Step 4
Repair any surface damage
If the exterior of your home is damaged in any way, it will need to be repaired before any painting can be done. This doesn’t only include cracks in the siding itself, but any metal, wood, or stucco should be repaired prior to painting.
Small holes and damage can usually be filled with spackle or putty, while a lifted board may need to be replaced entirely.
Exterior Painting Process: Step 5
Sand & smooth
Next, any rough parts of the exterior of your home will need to be sanded. Just as the prior steps, sanding is important to get that perfectly smooth finish and ensure that your paint job holds up to the test of time. It doesn’t have to be silky smooth, but spend a little time on this.
Exterior Painting Process: Step 6
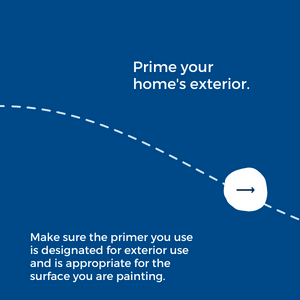
Prime your home's exterior
After sanding, it’s important to prime the home’s exterior to get it ready for the real deal. There are special primers you can get if you’re painting over an oil based paint to help it adhere better. Alternatively, you can use a regular latex primer for wood exteriors or those that already have been painted with a latex based paint. Lots of paints these days don’t even need a primer. However, it’s important to check in with a professional to see what will be best for your home.
Exterior Painting Process: Step 7
Choose the right paint for the job
Different surfaces do best with different paints. So it’s important to know the right choice for the material of your home’s exterior. Wooden exteriors prefer oil based paint for its absorbent and long lasting qualities. Siding does best with either acrylic or latex based paints. When in doubt, head down to your local paint store. They’ll be more than happy to point you in the right direction.
Exterior Painting Process: Step 8
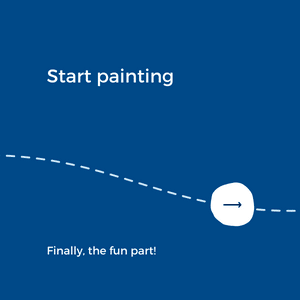
Start painting
You’ve finally made it! The prep work is done, and you’ll have a beautifully repainted exterior in no time. There are a host of techniques that can be used for painting your homes exterior, and you’ll usually end up going with a combination of them. For large spaces, a sprayer may be the best option to get an even surface quickly. Smaller spaces will need more precision, so a tool like a small paint roller will work perfectly. You want a light and even coat to optimize your results.
Exterior Painting Process: Step 9
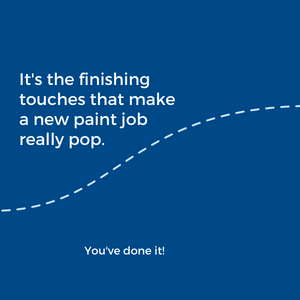
Finishing touches
If you’re repainting the entire exterior if your home, then this is the time when doors, window frames, or the roof will get tackled. Painting these smaller more detailed aspects after the sides of your home are the small details that make the larger areas really pop.
Painting your home’s exterior is an amazing way to give it new life and brighten up your whole neighborhood. Whether you’re planning to sell your home or are just giving it an upgrade, you deserve to end up with a result that you love and can enjoy for years to come. When you’re ready to get started, fill out the quick contact form below or give us a call. We’d love to hear from you